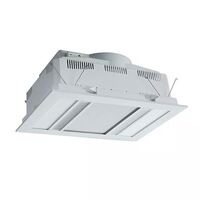
Martec Phoenix 3-in-1 Fan, Heater, Light & Exhaust
Model # MBHP1000W
$324.50 $295.00 ex GST

Need Help?
Need Help?

Martec Phoenix 3-in-1 Fan, Heater, Light & Exhaust
Model # MBHP1000W
$324.50 $295.00 ex GST
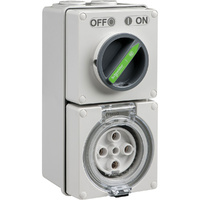
Clipsal Easy56 Round 5 Pin 32A Switched Socket
Model # EY56C532
$150.04 $136.40 ex GST

Clipsal Wiser Smart Smoke Alarm with 10 Year Lithi
Model # CLP599WSAL
$145.20 $132.00 ex GST
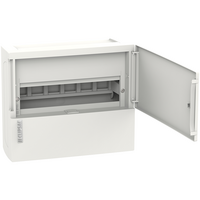
Clipsal Resi MAX 1 Row 12 Pole Surface Mount Switc
Model # RMXE112S
$44.33 $40.30 ex GST
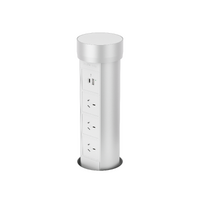
Point Pod Multi Pop Up Powerpoint 3 x Power 2 x US
Model # PPM01
$490.50 $445.91 ex GST
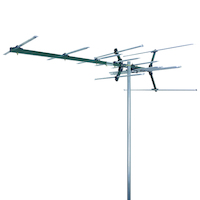
Matchmaster 03MM-DC21V Digital TV Antenna
Model # 03MM-DC21V
$137.50 $125.00 ex GST
 Click here to see our huge range
Date Posted:16 February 2024
This puts a spanner in the works when it comes to LED strip lights. Usually coming in 2-metre and 5-metre lengths, it can seem like there isn’t much wiggle room on the road to soft lighting.
Picture this: you've decked out your living space with mesmerising LED strip lights, casting a soft ambience that would put a sunrise to shame. But there's this section with a bit too much glow, a side that’s a tad too long to fit perfectly, and you ask, "Can I chop this beauty without ruining the whole atmosphere?" Let's unpack the LED strip light mystery.
First things first, before you grab your shears and go Edward Scissorhands on your LEDs, let's understand what these clever light strips are made of. Typically, LED strips consist of a flexible circuit board with tiny LED bulbs attached at regular intervals. The whole ensemble is encased in a protective coating.
Okay, let's tackle the big question – can you cut them? The short answer is a feeble yes. But (and there's always a but) you've got to have the right style and do it correctly to keep the illumination alive.
Only some kinds of LED strip lighting can be cut. To make it easier to tell the pro-cut from the anti, the ones that can be cut will have scissor symbols at the safe point to snip. If you cut a lighting strip at a different point or one that isn’t designed to be trimmed, you’ll likely end up with a dead light. At MJS Electrical Supplies, we include pictures of the lighting strips so you can check before you buy. We also do our best to have the info in the product description for peace of mind.
Let’s get technical before we get into the step-by-step. When cutting your LED strips, it is always important to calculate the remaining LED load to reconfirm its compatibility with the existing driver. Driver changes may be required with a moderate reduction in load. Not sure what this means? Contact our team for help, or get in touch with your Sparky.
We’re finally at the instructions you’ve been waiting for — how to trim an LED strip light for a perfect fit. It’s obvious, but we feel the need to start with a vital safety tip: make sure your LED light is not plugged into power when you cut it. Now that you’ve reduced the chances of electric shock, here’s what to do:
Locate the designated cut points before you embark on your LED-cutting adventure. Consider strip lights like metal chains; you’re trying to cut between the links, not in the middle of a link. Manufacturers usually mark these points with scissor or knife symbols. These marks indicate where you can safely snip the strip without causing electrical mayhem. Cutting anywhere else might result in a dazzling display of sparks — and not the good kind.
Cliché, but oh-so-important; measure the length you need precisely. Cutting too much or too little is the difference between a seamlessly integrated light show and a messy, uneven glow. Grab a ruler or a measuring tape – whatever floats your boat – and measure twice (or thrice if you're feeling particularly meticulous). Don’t forget, the remaining part you’ve cut off the length won’t work anymore, so you’re better off cutting too long than too short.
Now, about those scissors – don't just grab any pair you find in the junk drawer. Opt for a sharp pair of scissors or a utility knife to ensure a clean, precise cut. Dull tools can damage the circuit board and ruin the whole aesthetic. If you want your LEDs to look professionally installed, invest in some quality cutting tools.
Not so much a step as a handy reminder, but make sure you’re cutting straight. Take your time and follow the cut line exactly. A diagonal or accidental wonky cut may stop your lights from working.
After cutting and reconnecting, it's time to seal the deal — literally. Waterproof LED strips will require extra attention after getting snipped. Make sure the connection points are sealed properly to prevent any water from sneaking in and wreaking havoc on your lights. You can use waterproofing silicone or heat shrink tubing to provide that extra layer of protection.
Before you go ahead and install your newly cut and connected LED strip, do a little test run. Power up the strip and check if the cut sections are lighting up as expected. This quick test can save you from the heartbreak of discovering a faulty connection after you've painstakingly glued or installed the strip in its final destination.
So, there you have it — the secret to a perfectly tailored LED strip light. Can you cut them? Absolutely. With a dash of precision, a sprinkle of caution, and a dollop of ‘buying the right type’, you can customise your LED strip lights to fit any nook and cranny. So, go ahead, grab those scissors, and let the light customisation begin!
Looking for a solution that’s a bit brighter than a strip light? Shop our range of LED downlights, LED panels, and dimmers to find the right fit for your space. A family business with 20 years of experience in the industry, MJS Electrical Supplies is sure to have the products and advice you need. Shop online today!


Add your favourites to cart

Select Afterpay at checkout

Log into or create your Afterpay account, with instant approval decision

Your purchase will be split into 4 payments, payable every 2 weeks
All you need to apply is to have a debit or credit card, to be over 18 years of age, and to be a resident of country offering Afterpay
Late fees and additional eligibility criteria apply. The first payment may be due at the time of purchase
For complete terms visit afterpay.com/terms
